Top Picks for DIY Musicians
There are a LOT of products out there to create your own DIY green screen videos. I personally love solutions that are affordable, easy to store, and get the job done! Since many students ask for advice on what video gear to buy, I’ll share my list of favorites from my explorations of DIY solutions!
In this article, I will share my top picks for
All-inclusive green screen kits - Don’t think too much.
Custom Setup - DIY Green Screen ideas
Audio - Upgrade any camera’s audio easily
Software - Easiest and Cheapest to replace the green screen with any image or video!
But first, let’s go over the basics.
How it works
Before you choose a screen, you’ll want to think about your lighting. Why? Because the screen you get will depend on your floor and wall space, the amount of movement of the subject, your budget, and how much natural lighting you have in your room.
This can be as complicated or as simple as you want. You can get an all-inclusive kit, or you can build a custom setup. If you choose to go custom, I hope you are ready to pull out those arts and crafts skills! Regardless of what path you choose, here are some important tips for you to keep in mind.
Tips for the Best Green Screen Lighting
Light your green screen separate from the subject.
Evenly light your green screen, avoiding shadows and wrinkles. Diffused lighting (rather than hard lighting) works best. Bouncing the light off the wall or ceiling can diffuse it, or getting a light diffuser if you want to drop some cash. (Wax paper works too!)
Have the subject stand a few feet (2 - 3 ft) away from your screen so your shadow doesn’t show up on your screen!
Natural light is through a window is naturally diffused and has less shadow! Your subject can face a Southern window in the morning, or a Northern window in the afternoon and additional lighting might be minimal!
Bigger is better when it comes to screens, but also more expensive. Luckily, with some arts and crafts work, you can make a big screen for less than $20! Keep reading to see how.
You will need 5 light sources — One for the performer being filmed (Key Light), 2 for the green screen (Background lights), 1 light shining on your subject’s back (backlight), and one that fills the whole room (Fill Light). You can even use a desk lamp or floor lamps you already have.
Lighting Tutorials
Before jumping into shopping for gear, I recommend watching all of the lighting strategy videos I’ve placed along the way, so you get a better idea of what will work best for you and your space.
TIP: You can use wax paper as a light diffuser because it handles high heat!
What to buy
At this point, you have two options —
1) Get an all-inclusive kit with lighting, stand, and green screen included in one package
OR
2) Browse through my list of favorite recommendations and build your own custom setup that will work best for your budget and your space.
Just like Goldilocks and the Three Bears, your solution is going to come somewhere between the Too Big Expensive traditional way, and the Too Small way-too-simple way. Let’s look at some example setups together so you can build one for yourself that will be Just Right!
OPTION 1 | ALL INCLUSIVE KITS
Advantages: Comes with everything in one package, inexpensive
Disadvantages: Takes up a lot of space, the fabric creases, wrinkles, and needs ironing, fabric needs to be stretched out either with clamps or very strong tape to get rid of wrinkles.
WARNING: This video shows how lighting could take up WAY too much space if you are not thinking about light placement. I wouldn’t light the subject using the same lights as the backdrop, like they do here. Look at the diagram above again, and notice how the subject is next to or in front of the background lights, not behind them. Lighting the subject like they do in this video will create too much of a shadow, and you will need to be VERY far (10 ft) from the backdrop. I don’t have that much space in my room, do you??
The quality of these all-inclusive kits is OK. I would only recommend if you are looking for a quick, cheap solution without having to order too many separate pieces. This option is good if you are just getting started.
You will need to iron the fabric before using it, it WILL arrive creased. Also make sure you use your clamps because if the fabric is not stretched out, it will have shadows. Luckily, the software nowadays is pretty good at dealing with these imperfections, so this option will certainly be “good enough” if you have a good iron!
Kshioe Photo Video Studio Light Kit
Really great deal than buying everything separately. Comes with two diffused lightboxes which are great for lighting the green screen if you don’t already have this essential photography equipment.
FancierStudio 10' x 12' Light Kit
It might be a bit more expensive, but it comes with 3 great lights! No clips, though.
Option 2 | Custom setup
If you are ready to build a custom setup, here is everything you need to do it!
Advantages: Takes up less space, work with items you may already have, better quality options for green screens and lights, can be less expensive than all-inclusive kit.
Disadvantages: Lights sold separately, may become more expensive than kits the more you customize.
TIP: Upgrading the light bulbs in a couple desk lamps to at least 1000 lumen LEDS can be a quick way to shine light on you and on your background. See how playing around with different colored lights can improve any background!
Lighting
Key Light
10" Selfie LED Ring Light with Upgrade
I am blown away by how useful this is. You can mount 2 phones plus an iPad, multiple light settings, and will just make your face look great for a reasonable price.
Back Lights (Could also be Key Light)
Background (Clamp) Lights
iPower Multispectrum Grow Lights
Not just for growing plants, these put out a strong daylight, perfect to light your green screen. Clamp these to any tripod or shelf.
Less fancy, but great value! Use any bulb you want since the bulbs are sold separately!
Green Screen
I personally don‘t like the cloth sheets that come in the all-inclusive options. They are great if you want to wrap yourself up or use them as a floor, but they aren’t great as a wall backdrop since they wrinkle and crease.
The best materials I’ve used for a custom greenscreen are paper, felt, or collapsable stretched muslin.
— Paper
Advantages: Portable, Lightweight, easy to store, wrinkle-free, wall-mountable, damage-resistant, adjust to any length, available in many colors, stand-mountable.
Disadvantages: Tears easily if walked on, but you can just roll more out! Reflects slightly more light than cloth, fixed color, most do not come with stands.
TIP: Build a green screen of any size yourself with clear packing tape and less than $15 of Neon Green poster board from your hobby shop.
I love using paper rolls as my green screen for videos! It doesn’t get wrinkled or seamed like fabric. If you do damage it, you can just cut trim off the damage, and start with a fresh page! You can make it as long or as short as you want, depending on how much floor you want to cover. It is very lightweight, so you can cut a piece and tack it to a wall, or mount the whole roll to a backdrop stand! The matte, non-reflective surface does a great job even with imperfect light. If your subject wants to wear green, then purchase a blue screen instead!
Top Picks
Depending on your size and budget, these are my favorite picks for paper backdrops.
Savage Seamless Tech Green Backdrop (86 in x 36 ft)
This is my personal favorite. Stand not included! Available in many sizes.
Savage Seamless Studio Blue Backdrop (86 in x 36 ft)
If you are wearing green, get this instead. Stand not included! Available in many sizes.
Trifold Display Board - 4 ft x 3 ft
Thick enough to stand on its own, but it is pretty small, so you will need to be close up for this to work.
Neon Green Poster Board - 22 in x 28 in
Small but Flexible. You can tape these together with clear packing tape to make custom sizes as shown in this video.
Here’s how you can make the most basic green screen ever using natural window lighting. I would NOT recommend this for anything other than a headshot, but it is still cool to see how simple it can really be!
— Fabric
Advantages: Portable, lightweight, easy to store, wrinkle-free, wall-mounting
Disadvantages: Fixed Size, not damage resistant
Top Picks
Green/Blue Reversible Pop-up Backdrop
I love how this collapses flat and lightweight, and stretches itself out. It is wrinkle-resistant, and I can mount it to a wall or a stand without needing to use clamps to tighten it. Plus, it has both Blue and Green!
Like I’ve mentioned, I don’t like having to iron these. They are really big extra large sheets. It works for some people, but I find they are a lot of work to set up and light. If you want to go this route, I recommend you get one of the all-inclusive kits because you will definitely want the big light-boxes to work with these.
Backdrop StandS
If you are wall mounting, you can use the stands for your clamp lights.
If you are mounting your green screen to this stand, you can put the lights on the top corners. It will light up your backdrop just fine.
Emart 10 x 8 ft backdrop stand
Works well for landscape orientation.
Emart T-Shaped portable backdrop stand
Works well for portrait orientation.
Audio
You video might look sweet, but if the audio sounds terrible, then you probably won’t be satisfied as a musician.
Here is a quick audio upgrade for any camera — even a smartphone.
software
To replace the greenscreen with any background, you will need software that can do the job.
iMovie (iOS)
Free
Easy for Beginners
Only available for Apple devices, but that might just work out if you have one of those.
Here are some tutorials to get you started!
How to: Green screen on iPhone and iPad
Adobe Premiere Pro (Mac or PC)
30-day free trial, then $20.99/month, included with Creative Cloud.
Intermediate
I use Premiere Pro for video editing since it is an industry-standard tool with lots of help, functions, lighting effects, and shortcuts if you are editing TONS of videos. If you already have a Creative Cloud subscription for Adobe’s other products, then you may already have access to Premiere, and this may be the answer for you!
Check out this tutorial on Using the Ultrakey video effect on Adobe Premiere Pro.
Davinci Resolve (Mac or PC)
Free
Intermediate
If you are looking for a video editor that can handle a green screen more like Premiere Pro but without the price tag, I love Davinci Resolve.
And, there’s a tutorial for that: Quick and Easy Chroma Key in Davinci Resolve
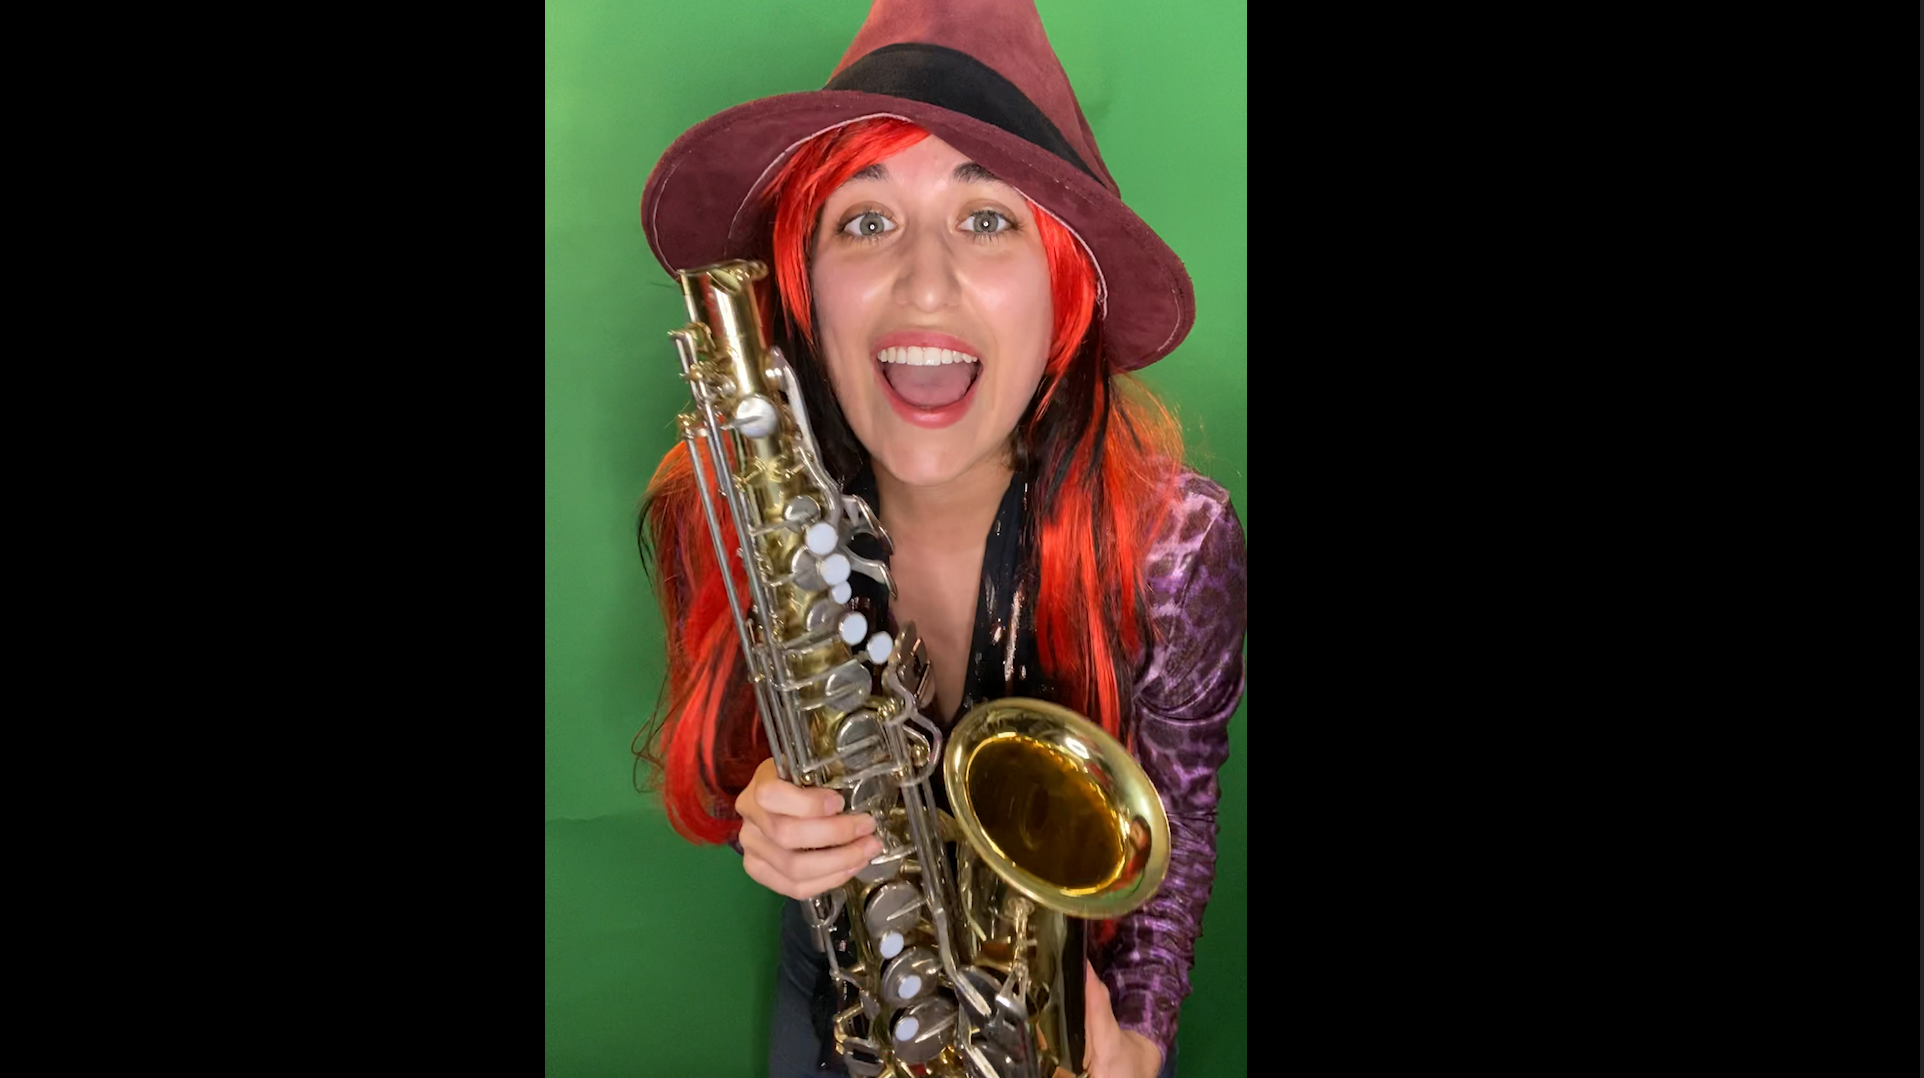
My Setup and Results
Check out my results using the green paper roll, backdrop stand, two clamp lights, the ring light, and Premiere Pro!